Following up on “The Dimensions of Navigation in Object-Oriented Code” this post explores how Eclipse, one of the most mature IDEs for Java development, supports navigating across different dimensions of code: hierarchy, behavior, validation and utilities.
Let’s walk through these dimensions and see how Eclipse helps us travel through code with precision.
1. Hierarchy Navigation
Hierarchy navigation reveals the structure of code through inheritance, interfaces and abstract classes.
- Open Type Hierarchy (F4):
Select a class or interface, then pressF4. This opens a dedicated view that shows both the supertype and subtype hierarchies. - Quick Type Hierarchy (Ctrl + T):
When your cursor is on a type (like a class, interface name), this shortcut brings up a popover showing where it fits in the hierarchy—without disrupting your current layout. - Open Implementation (Ctrl + T on method):
Especially useful when dealing with interfaces or abstract methods, this shortcut lists all concrete implementations of the selected method.
2. Behavioral Navigation
Behavioral navigation tells you what methods call what, and how data flows through the application.
- Open Declaration (F3 or Ctrl + Click):
When your cursor is on a method call, pressingF3or pressingCtrland click on the method jumps directly to its definition. - Call Hierarchy (Ctrl + Alt + H):
This is a powerful tool that opens a tree view showing all callers and callees of a given method. You can expand both directions to get a full picture of where your method fits in the system’s behavior. - Search Usages in Project (Ctrl + Shift + G):
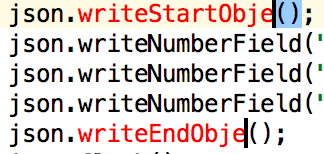
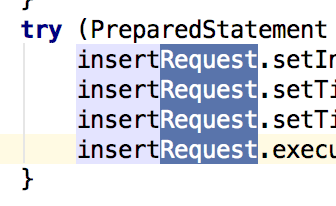
Find where a method, field, or class is used across your entire project. This complements call hierarchy by offering a flat list of usages.
3. Validation Navigation
Validation navigation is the movement between your business logic and its corresponding tests. Eclipse doesn’t support this navigation out of the box. However, the MoreUnit plugin adds clickable icons next to classes and tests, allowing you to switch between them easily.


4. Utility Navigation
This is a collection of additional navigation features and productivity shortcuts.
- Quick Outline (Ctrl + O):
Pops up a quick structure view of the current class. Start typing a method name to jump straight to it. - Search in All Files (Ctrl + H):
The search dialog allows you to search across projects, file types, or working sets. - Content Assist (Ctrl + Space):
This is Eclipse’s autocomplete—offering method suggestions, parameter hints, and even auto-imports. - Generate Code (Alt + Shift + S):
Use this to bring up the “Source” menu, which allows you to generate constructors, getters/setters, toString(), or even delegate methods. - Format Code (Ctrl + Shift + F):
Helps you clean up messy files or align unfamiliar code to your formatting preferences. - Organize Imports (Ctrl + Shift + O):
Automatically removes unused imports and adds any missing ones based on what’s used in the file. - Markers View (Window → Show View → Markers):
Shows compiler warnings, TODOs, and FIXME comments—helps prioritize navigation through unfinished or problematic code.
Eclipse Navigation Cheat Sheet
| Action | Shortcut / Location |
|---|---|
| Open Type Hierarchy | F4 |
| Quick Type Hierarchy | Ctrl + T |
| Open Implementation | Ctrl + T (on method) |
| Open Declaration | F3 or Ctrl + Click |
| Call Hierarchy | Ctrl + Alt + H |
| Search Usages | Ctrl + Shift + G |
| MoreUnit Switch | MoreUnit Plugin |
| Quick Outline | Ctrl + O |
| Search in All Files | Ctrl + H |
| Content Assist | Ctrl + Space |
| Generate Code | Alt + Shift + S |
| Format Code | Ctrl + Shift + F |
| Organize Imports | Ctrl + Shift + O |
| Markers View | Window → Show View → Markers |