Every frontend developer will know this situation: You design a frontend so that all components fit together perfectly. You invest your time, heart, and soul, working tirelessly and frequently testing to see the results. And then you deliver it to a customer, only to find that their display presents something different. The beautiful design looks bad, or some parts are no longer accessible.
To avoid these unpleasant surprises, you should make your layout dynamic. One possibility for achieving this is by using the flex container. In the following, I will demonstrate how to dynamically build an example page using flex containers.
Example page
My example page has a header spanning the entire content. The content is divided into a navigation area on the left and the content page on the right. The content page itself has a header, main content and a button bar. Now let’s cast that into HTML.
<!doctype html>
<html>
    <body>
        <div class="whole-page">
            <div class="header">
                Header<br>
                ...
            </div>
            <div class="content">
                <div class="navigation">Navigation</div>
                <div class="content-page">
                    <div class="content-header">
                        Title<br>
                        ...
                    </div>
                    <div class="main-content">
                        Content
                    </div>
                    <div class="button-bar">
                        Button Bar<br>
                        <button>Save</button>
                        <button>Cancel</button>
                    </div>
                </div>
            </div>
        </div>
    </body>
</html>
And now for the design: I want my page to take up the entire screen. The navigation area should take up 20% of the width, and the page should take up the rest. I want the button bar to be at the bottom of the screen and the main content to take up as much space as possible between the heading and the bar.
Let’s implement this with CSS:
html, body {
    font-family: sans-serif;
    font-size: 20pt;
    height: 100%;
    margin: 0;
}
.whole-page{
    display: flex;
    flex-direction: column;
    height: 100%;
    width: 100%;
}

.content {
    display: flex;
    flex-direction: row;

    flex-grow: 1;
    min-height: 0;
}
.navigation {
    min-width: 20%;
    overflow: auto;

}
.content-page {
    display: flex;
    flex-direction: column;

    flex-grow: 1;
    min-width: 0;
}

.main-content {
    flex-grow: 1;
    overflow: auto;

}
First, we configure html and body to take up the entire screen. To do this, we set the height to 100% and remove margins.
In the next step, we say that the layout of the whole page should build up flexibly among itself (column) and set the size to the maximum size of the screen.
For the parts with fixed sizes, like headers and the button bar, no further settings are needed.
The content also gets a dynamic layout, but side-by-side (row). Since row is the default, you would not have to write it explicitly, but I did it here for explanation. With “flex-grow: 1” we make the content take the maximum remaining height. With “min-height: 0” we prevent it from hogging more space than is still available and overflowing the screen.
Our navigation area gets the min-width of 20%. In most cases, width is sufficient, but, for example, with tables with large test cells, the table steals more space from the navigation than allowed. With min-width, this does not happen. As a bonus, the area gets a scrollbar with “overflow: auto” if the content is too big.
The content page arranges the elements in columns again and takes the maximum available width. The main content takes all the space left next to the header and button bar and gets a scrollbar if there is not enough space available.
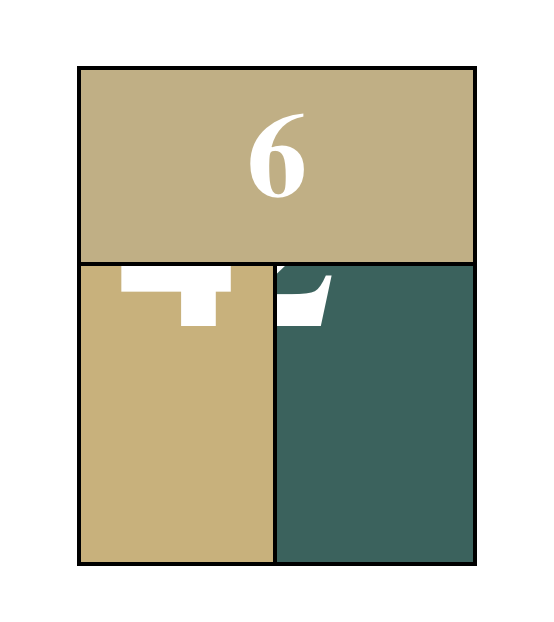
When I fill my containers with background color and example content, I get the following views:


Conclusion
Flex containers are an easy way to create page layouts dynamically. Thus, applications can run independently of the screen to a certain extent. Of course, the whole thing also has its limits, and for very small devices such as smartphones, completely different operating concepts and layouts must be developed.