
In the last article we learnt how to install and access a GPS module in a Raspberry Pi. Next, we want to write a network service that extracts the current location data – latitude, longitude and altitude – from the serial port.
Basics
We use Perl to write a CGI-script running within an Apache 2; both should be installed on the Raspberry Pi. To access the serial port from Perl, we need to include the module Device::SerialPort. Besides, we use the module JSON to generate the HTTP response.
use strict;
use warnings;
use Device::SerialPort;
use JSON;
use CGI::Carp qw(fatalsToBrowser);
Interacting with the serial port
To interact with the serial port in Perl, we instantiate Device::SerialPort and configure it according to our hardware. Then, we can read the data sent by our hardware via device->read(…), for example as follows:
my $device = Device::SerialPort->new('...') or die "Can't open serial port!";
//configuration
...
($count, $result) = $device->read(255);
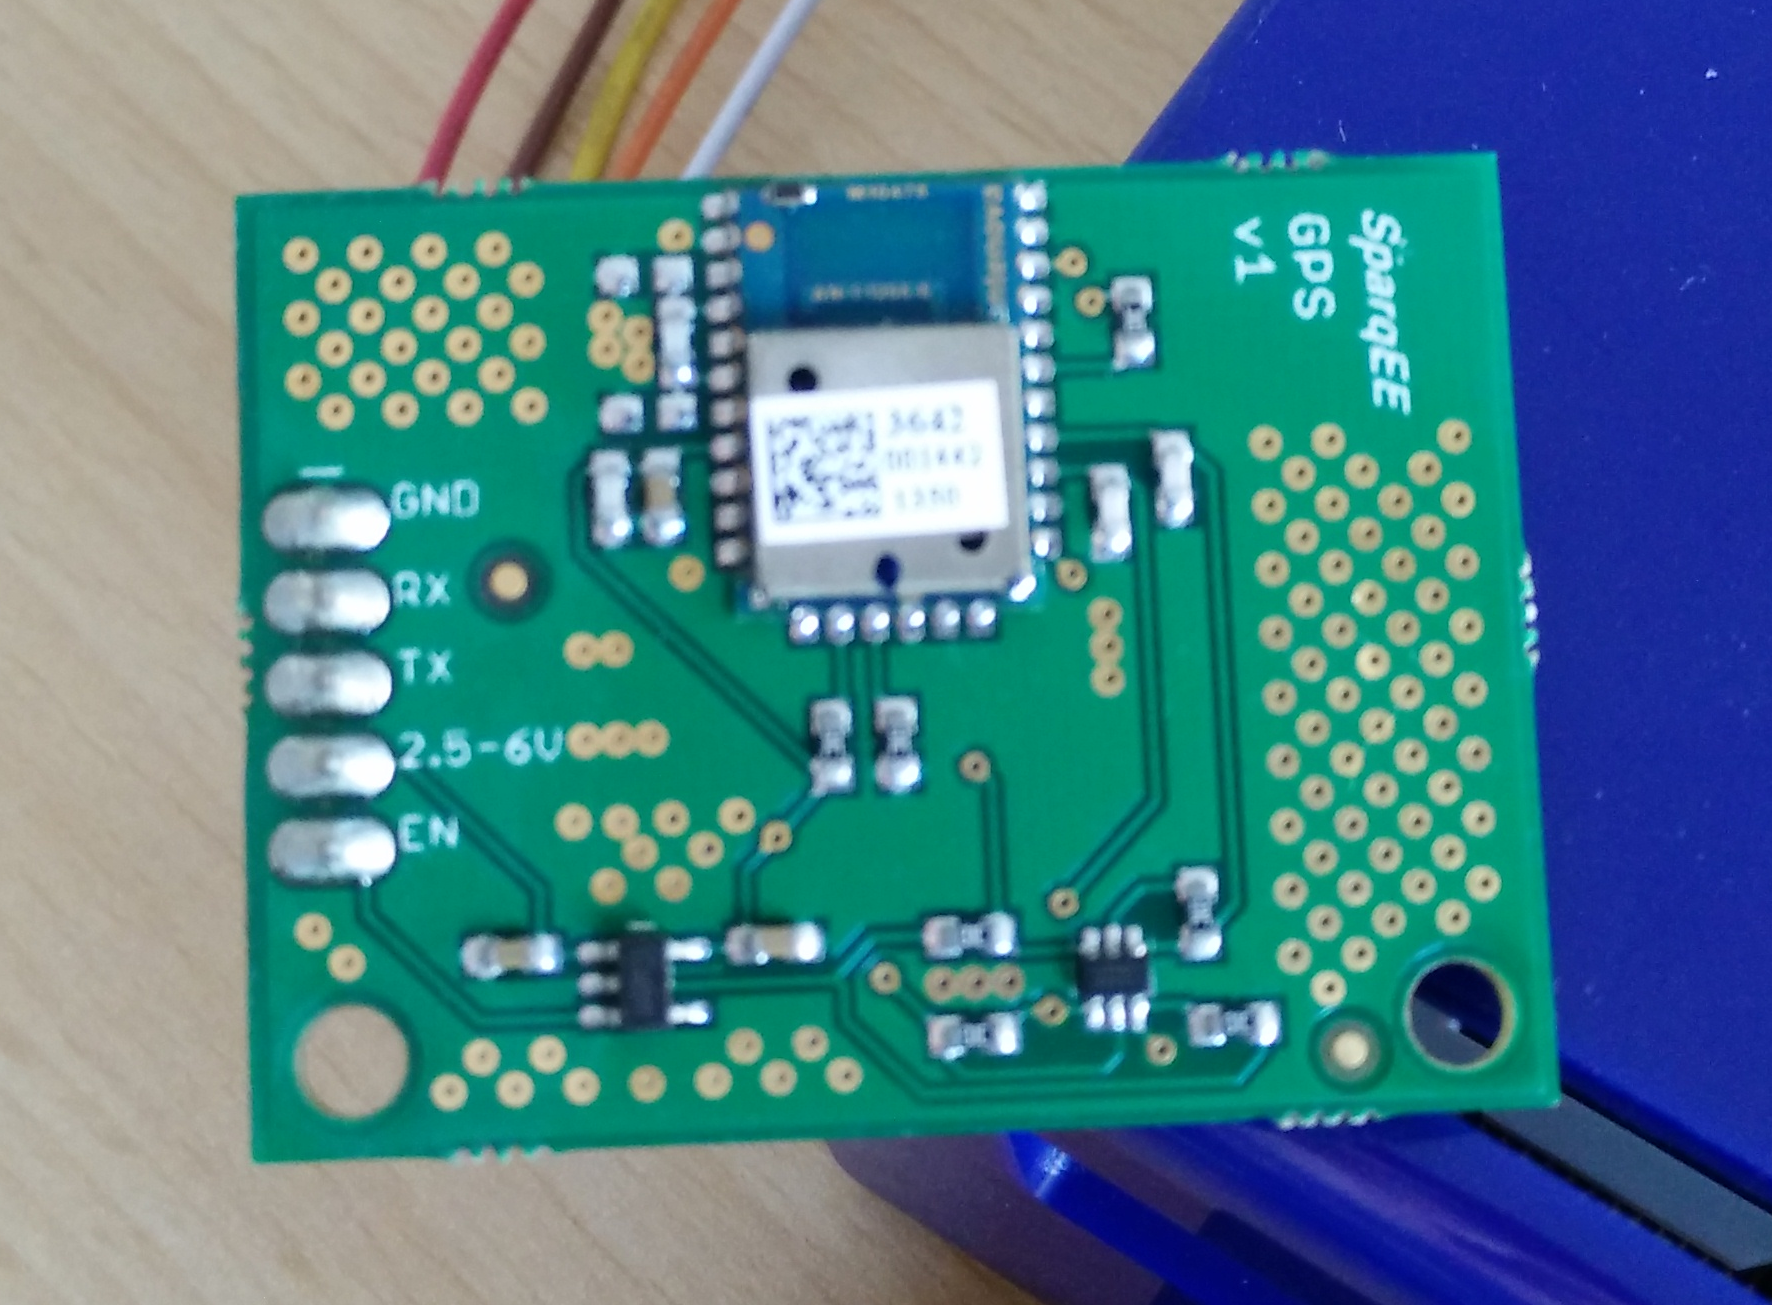
For the Sparqee GPSv1.0 module, the device can be configured as shown below:
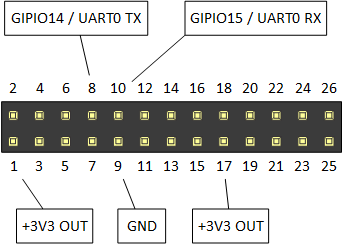
our $device = '/dev/ttyAMA0';
our $baudrate = 9600;

sub GetGPSDevice {
 my $gps = Device::SerialPort->new($device) or return (1, "Can't open serial port '$device'!");
    $gps->baudrate($baudrate);
    $gps->parity('none');
    $gps->databits(8);
    $gps->stopbits(1);
    $gps->write_settings or return (1, 'Could not write settings for serial port device!');
    return (0, $gps);
}
Finding the location line
As described in the previous blog post, the GPS module sends a continuous stream of GPS data; here is an explanation for the single components.
$GPGSA,A,3,17,09,28,08,26,07,15,,,,,,2.4,1.4,1.9*.6,1.7,2.0*3C
$GPRMC,031349.000,A,3355.3471,N,11751.7128,W,0.00,143.39,210314,,,A*76
$GPGGA,031350.000,3355.3471,N,11751.7128,W,1,06,1.7,112.2,M,-33.7,M,,0000*6F
$GPGSA,A,3,17,09,28,08,07,15,,,,,,,2.6,1.7,2.0*3C
$GPGSV,3,1,12,17,67,201,30,09,62,112,28,28,57,022,21,08,55,104,20*7E
$GPGSV,3,2,12,07,25,124,22,15,24,302,30,11,17,052,26,26,49,262,05*73
$GPGSV,3,3,12,30,51,112,31,57,31,122,,01,24,073,,04,05,176,*7E
$GPRMC,031350.000,A,3355.3471,N,11741.7128,W,0.00,143.39,210314,,,A*7E
$GPGGA,031351.000,3355.3471,N,11741.7128,W,1,07,1.4,112.2,M,-33.7,M,,0000*6C
We are only interested in the information about latitude, longitude and altitude, which is part of the line starting with $GPGGA. Assuming that the first parameter contains a correctly configured device, the following subroutine reads the data stream sent by the GPS module, extracts the relevant line and returns it. In detail, it searches for the string $GPGGA in the data stream, buffers all data sent afterwards until the next line starts, and returns the buffer content.
# timeout in seconds
our $timeout = 10;

sub ExtractLocationLine {
    my $gps = $_[0];
    my $count;
    my $result;
    my $buffering = 0;
    my $buffer = '';
    my $limit = time + $timeout;
    while (1) {
        if (time >= $limit) {
           return '';
        }
        ($count, $result) = $gps->read(255);
        if ($count <= 0) {
            next;
        }
        if ($result =~ /^\$GPGGA/) {
            $buffering = 1;
        }
        if ($buffering) {
            my $part = (split /\n/, $result)[0];
            $buffer .= $part;
        }
        if ($buffering and ($result =~ m/\n/g)) {
            return $buffer;
        }
    }
}
Parsing the location line
The $GPGGA-line contains more information than we need. With regular expressions, we can extract the relevant data: $1 is the latitude, $2 is the longitude and $3 is the altitude.
sub ExtractGPSData {
    $_[0] =~ m/\$GPGGA,\d+\.\d+,(\d+\.\d+,[NS]),(\d+\.\d+,[WE]),\d,\d+,\d+\.\d+,(\d+\.\d+,M),.*/;
    return ($1, $2, $3);
}
Putting everything together
Finally, we convert the found data to JSON and print it to the standard output stream in order to write the HTTP response of the CGI script.
sub GetGPSData {
    my ($error, $gps) = GetGPSDevice;
    if ($error) {
        return ToError($gps);
    }
    my $location = ExtractLocationLine($gps);
    if (not $location) {
        return ToError("Timeout: Could not obtain GPS data within $timeout seconds.");
    }
    my ($latitude, $longitude, $altitude) = ExtractGPSData($location);
    if (not ($latitude and $longitude and $altitude)) {
        return ToError("Error extracting GPS data, maybe no lock attained?\n$location");
    }
    return to_json({
        'latitude' => $latitude,
        'longitude' => $longitude,
        'altitude' => $altitude
    });
}

sub ToError {
    return to_json({'error' => $_[0]});
}

binmode(STDOUT, ":utf8");
print "Content-type: application/json; charset=utf-8\n\n".GetGPSData."\n";
Configuration
To execute the Perl script with a HTTP request, we have to place it in the cgi-bin directory; in our case we saved the file at /usr/lib/cgi-bin/gps.pl. Before accessing it, you can ensure that the Apache is configured correctly by checking the file /etc/apache2/sites-available/default; it should contain the following section:
ScriptAlias /cgi-bin/ /usr/lib/cgi-bin/
<Directory "/usr/lib/cgi-bin">
    AllowOverride None
    Options +ExecCGI -MultiViews +SymLinksIfOwnerMatch
    Order allow,deny
    Allow from all
</Directory>
Furthermore, the permissions of the script file have to be adjusted, otherwise the Apache user will not be able to execute it:
sudo chown www-data:www-data /usr/lib/cgi-bin/gps.pl
sudo chmod 0755 /usr/lib/cgi-bin/gps.pl
We also have to add the Apache user to the user group dialout, otherwise it cannot read from the serial port. For this change to come into effect the Raspberry Pi has to be rebooted.
sudo adduser www-data dialout
sudo reboot
Finally, we can check if the script is working by accessing the page <IP address>/cgi-bin/gps.pl. If the Raspberry Pi has no GPS reception, you should see the following output:
{"error":"Error extracting GPS data, maybe no lock attained?\n$GPGGA,121330.326,,,,,0,00,,,M,0.0,M,,0000*53\r"}
When the Raspberry Pi receives GPS data, they should be given in the browser:
{"longitude":"11741.7128,W","latitude":"3355.3471,N","altitude":"112.2,M"}
Last, if you see the following message, you should check whether the Apache user was correctly added to the group dialout.
{"error":"Can't open serial port '/dev/ttyAMA0'!"}
Conclusion
In the last article, we focused on the hardware and its installation. In this part, we learnt how to access the serial port via Perl, wrote a CGI script that extracts and delivers the location information and used the Apache web server to make the data available via network.


