Digitalization in this context means transforming traditional paper based processes to computer-based digital ones. For existing organisations and administrations – both private and public – such a transformation requires a lot of thought, work and time.
There are mostly functioning albeit sometimes inefficient processes in place providing services that do not allow interruptions or unavailabilities for extensive periods of time. That means the transition has to be as smooth as possible often requiring running multiple solutions in parallel or providing several ingestion methods and output formats.
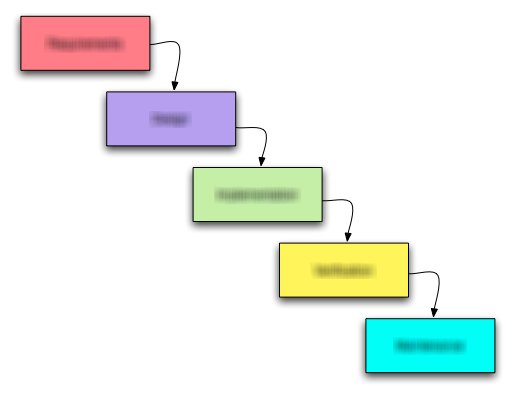
Process evolution in general
Nevertheless I see a general pattern when business processes are transformed from traditional to fully digital:
I have observed and performed such transformations both privately as a client or customer and professionally implementing or supporting them.
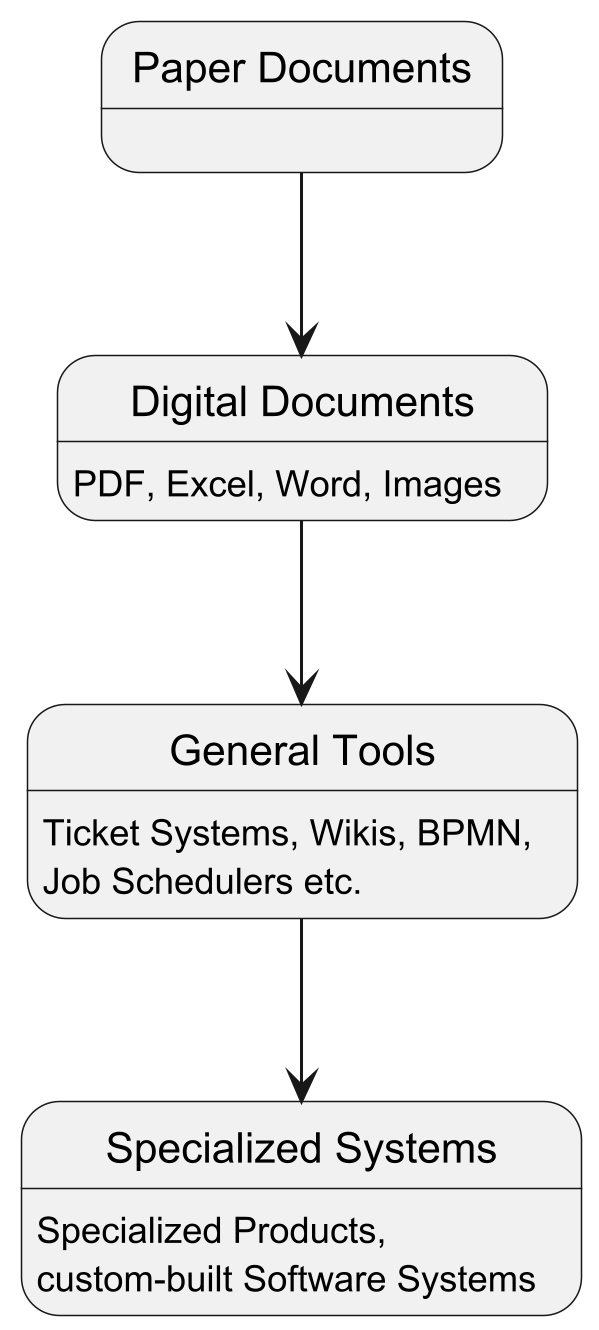
Status quo
The current state in many organisations in Germany is “Digital Documents” and that is where it often stops. The processes themselves remain largely unchanged and opportunities and improvements remain lost.
Unfortunately this is the step where a lot of potential could be uncovered: Just by using proper collaboration tools one could assign assign tasks to specific people in a process associated to digital documents, track the progress and inform watchers. In many cases this results in much tighter processes, shorter resolution times and hugely improved documentation and traceability.
Going even further
The next step is where service providers like us are often brought to the table to extend, improve or replace the existing solution with custom- and purpose-build software to maximise efficiency, usability and power of the digital world.
Using general tools for certain processes and a certain time often shows the shortcomings and lets you destill a clearer picture of what is actually needed. Using that knowledge helps building better solutions.
Requirements for success
For this whole transformation to be successful one has to be very careful with the transition. It is seldom as easy as shutting down the old way ™ and firing up the new stuff.
Often we need to keep several ingestion points open – imaging snail mail, e-mail, texting, voice mail, web interface, app etc. as possible input media. At different points in the process several people may want to use their own way of interating with the process/documents/associated people. In the end the output may still be a paper document or a digital document as the end artifact. But maybe in addition other output like digital certificates, codes or tokens may benefit the whole experience and process.
So imho the key besides digitalisation and a good process analysis is keeping the process flexible and approachable using different means.
Some examples we all know:
- Paying at a store often offers cash, bank card, credit card and sometimes even instant payment systems like Paypal or Wero
- Document management with tools like Paperless-ngx office allows ingestion by scan, e-mail, direct upload etc. in different formats like PDF, JPG, PNG and hybrid storage digitally and optionally in a filing cabinet using file folders.
- Sick notices may be sent in using phone, e-mail, web forms, in-app and be delivered by the means the recipient likes most.
The possibilities are endless and the potential improvement of efficiency, speed and comfort is huge. Just look around you and you will begin to see a lot of processes that could easily be improve and cause many win-win situations for both, service providers and their clients.